Telling time is another essential life skill, and kindergarten is a serious business. That’s not just about knowing when lunch or recess is (although that’s certainly important!). Time understanding helps children realise the day’s order and routine.
This article guides teachers in making learning about time fun and engaging, focusing on telling time to the hour worksheets. We’ll teach you how to read an analogue clock, write the time, and match up the two-time formats, and we will offer printable worksheets that you can use in your classroom.
1. Introducing the Analog Clock
It’s time to get those little brains ticking! Begin with presenting the analogue clock. Instead of just saying it’s a tool to measure time, ask your students: “What is this? I saw something like this before. Where?” They might surprise you! Explore the different types of clocks they might encounter in their daily lives:
- Wake them up with an alarm clock, BZZZ!! By their beds.
- Watches that people wear on their wrists.
- Tall grandfather clocks on the floor, perhaps even a tall clock in school hallways!
- They have wall clocks in their homes or classrooms.
Take them to pictures or the real deal of these clocks and show them how they might differ in size, shape, or colour, but they all have the same essential parts that help us tell time.
Now, let’s explore those essential parts:
- Face: the part of the clock with the numbers 1 to 12.
- Hour Hand: The hand that shows the hour. It is the “biggest boss” of the clock!
- Minute Hand: The minute, the more extended hand that tells us minutes. It goes much faster than the hour hand.
A working clock with moving hands or a large demonstration clock will drive these notions home! Let the children touch and explore the clock, move their hands around, and observe how they fit together.
2. Reading the Hour Hand
We’re learning to tell time to the hour, which means the show’s star is the hour hand! Say that a whole hour has passed when the hour hand moves from one number to another. To make this more interactive, try these activities:
- “Human Clock”: Ask the children to stand in a circle while standing for a number on the clock face. Pick one child to be the “hour hand” and have them move around the circle, pointing to each “hour” as you say it.
- Clock HuntsGogo on a “clock hu around the classroom or school.” Ask the children to collect clocks and locate the hour hand’s position. What hour is it pointing to?
- Movable Clock Hands: Give each child a small clock with movable hands. Have them set their clocks accordingly and call out different hours.
3. The Role of the Minute Hand
The minute hand has arrived, and you can call it the speedy sidekick of the hour hand! Tell them that when the minute hand is at 12 and straight up, it starts a new hour.
- “Minute Hand Race”: Have a demonstration clock and have the children watch as you turn the minute hand around the clock face. Tell them that this is how long it takes for one hour.
- Connecting to Real Life: Get students to relate the minute hand to things they do daily. For instance, ‘When the minute hand is on the 12, it’s time for morning circle.’ It goes around and around, and you have lunch when it gets back to 12.”
4. Writing the Time
Once they can read the hour hand, they are up to writing the time in digital format. Tell them we write the hour first, then put a colon (two dots) and two zeros to indicate the hour in the initial stage.
- “Time Detectives”: See pictures of clocks showing the hands at the hour. Ask the children to be “time detectives,” writing down the digital time below each image.
- Whiteboard Practice: As you call out different hours, have the children practise writing the digital time on individual whiteboards.
5. Understanding Digital and Analogue Times
So, it’s time to set it all up. Allow children to match the digital times to corresponding analogue clock faces.
- Matching Games: Make a memory matching game on pairs of cards, one being the analogue clock face and the other the matching digital time.
- Interactive Whiteboard Activities: Download an interactive whiteboard activity where children drag & drop digital times to analogue clocks.
- Worksheets: In your worksheets, include matching activities that require children to draw a line between analogue clocks and their digital counterparts.
6. Incorporating Worksheets
The worksheets are a valuable way to support learning. Create your worksheets using clear, easy-to-read clock faces and the corresponding digital times. Here are some activity ideas:
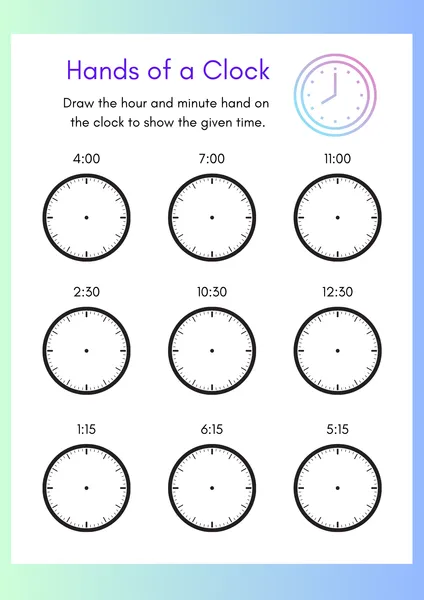
- Drawing the Hands: Write the time below the clock faces digitally. Ask children to draw the hour and minute hands on the watch representing a given time.
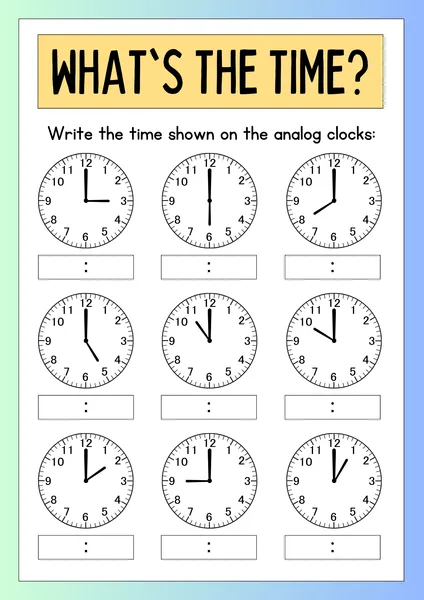
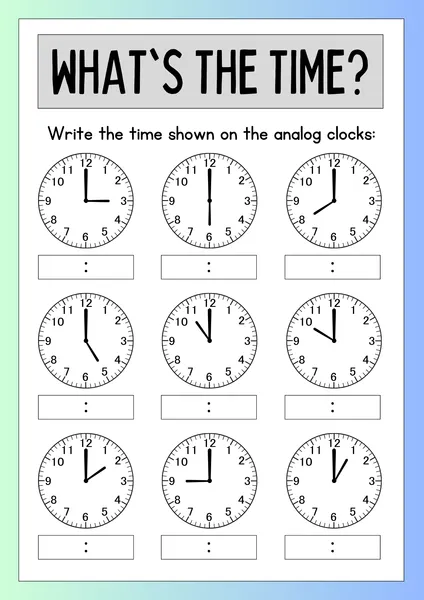
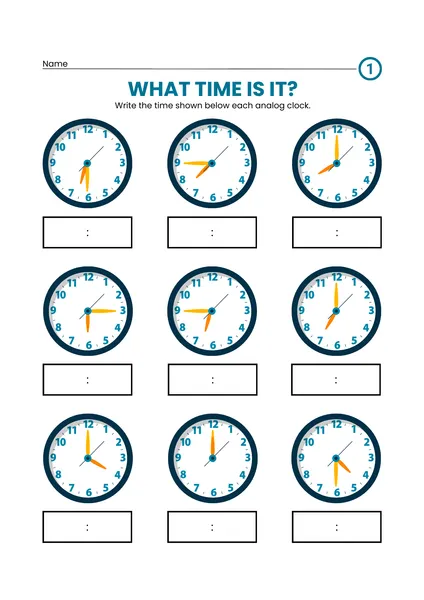
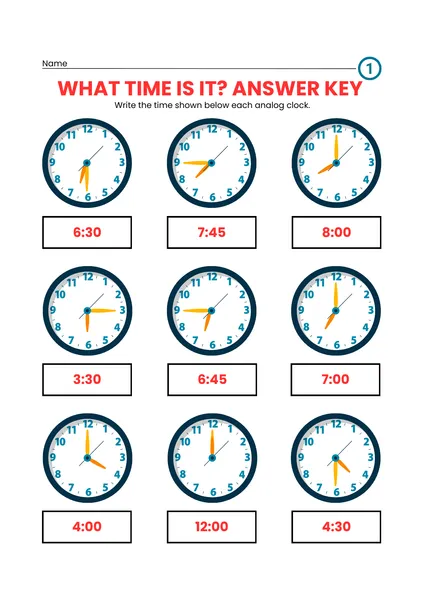
- Writing the Time: It goes so far as to show clock faces with the hands set to various hours. Ask children to write the digital time underneath each clock.
- Colouring: Get a little fun by having them colour the clock faces according to the time (e.g., yellow for morning hours, blue for afternoon hours).
7. Engaging Activities
Keep the learning fun and engaging with these hands-on activities:
- Clock Puzzles: Make puzzles with various shapes by cutting into clock faces. The puzzles assembled by the children allow them to recognise the time.
- Time Bingo: Make bingo cards at various times of the hour. Give call-out time and have the children mark it on their cards.
- Role-Playing: Set a pretend store or restaurant with a clock. Have children tell the time to customers and take turns being the cashier or waiter.
- Story Time: Read books on time (The Grouchy Ladybug by Eric Carle) and discuss the different times in the storeys.
- “What Time Is It, Mr. Wolf?”: A classic game with a time-telling twist! The teacher or someone – a student – calls out a time, and the children take that many steps forward. Should the wolf howl out and say dinner time? Back to the starting line, they run!! Arts and Crafts: Paper plates, cardboard, or food make good clocks. Make pretzel sticks for the hands and toppings for the hour, and use crackers for the clock face.
- Time Capsules: Have kids create time capsules for future planning. Discuss the idea of something happening in the future by having kids make something to open at a later date. Drawings, writing or small objects — anything that represents what children are currently interested in or are experiencing.
8. Tips for Success
Here are some tips to help your students master telling time to the hour:
- Use real-life examples: What time do you wake up, play outside, eat dinner, and go to bed? Do they all have to do with telling time?
- Be patient and encouraging: Telling time takes practice. Reward their progress positively and celebrate them. Say upbeat things, like, ‘You’re getting so good at telling time!’ “Oh, I can see you are trying to learn about the clock.”
- Make it hands-on: Make a clock face with manipulatives such as movable hands from clocks or play dough.
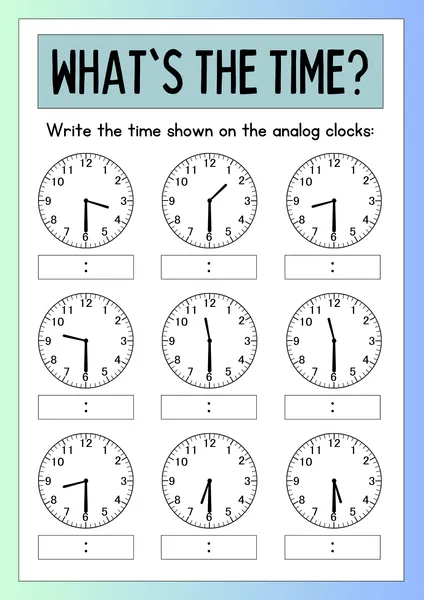
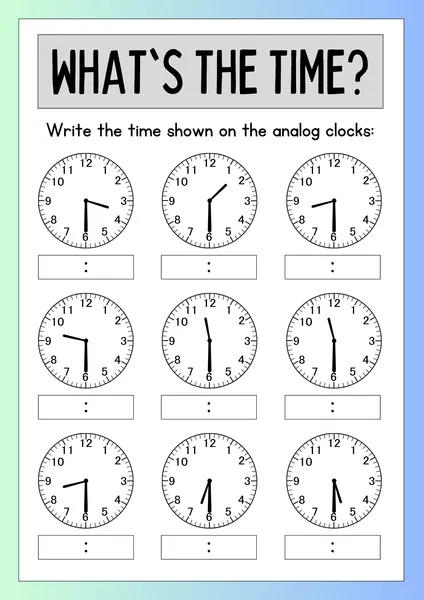
- Differentiation: It provides different levels of difficulty that correspond to individual needs. For children with difficulty, start using just the hour hand. Half-hour time-telling is excellent for the more advanced of your students.
- Assessment: Regularly observe children’s progress and provide feedback. For example, informal assessments such as observation during activities can be used to check students’ understanding or have them complete short quizzes or worksheets to check their knowledge.
Address common challenges:
- Confusing the hour and minute hands: For children who find the hands confusing, use colour code (for example, the hour hand is blue and the minute hand is red) or visual aids such as arrows to distinguish between hand length and purpose.
- Struggling with the concept of time: When your child seems to lack conceptualisation of time, help them with relatable examples by breaking the larger picture into smaller steps. Start with simple terms such as ‘before’ and ‘after’, then introduce more considerable durations, such as hours, days, etc.
- Diverse learners: Adapted various activities for various styles and learning needs. If you have visual learners, use plenty of pictures and visual tools. Movement and hands-on activities can help kinesthetic learners. Auditory learners utilise songs, rhymes, and storytelling.
9. Telling Time to the Hour Worksheets
Telling-Time-to-the-Hour-Worksheets
Here are a few ideas :
Worksheet 1: “What Time Is It?”
- Objective: To practise reading the hour hand and figuring out the time in the hour.
Design:
- Make a page with 6~8 analogue clock faces. The clock faces should be large enough so that children can read the numbers and hands of the watch.
- Under each clock face, provide a space for students to write the digital time (e.g., ___:00).
- Each clock is given different positions in our hands.
You can add colourful borders, illustrations, or anything that makes the worksheet more visually appealing.
Worksheet 2: “Draw the Hands”
Objective: It gives the child practice showing the hour on a clock face by setting the hands.
Design:
- Make a page of 6-8 analogue clock faces with the hands removed.
Worksheet 3: “Match the Time”
- Objective: This is to practise matching analogue clock faces to their corresponding digital times.
Design:
- Draw 4-6 analogue clock faces with different times to the hour on one side of the page.
- Write the digital times in mixed order on the page on the other side.
- Tell the students to draw a line connecting every analogue clock to its matching digital time.
Worksheet 4: “Time for Fun!”
Objective: Tell time to the hour and practise it more creatively and engagingly.
Design:
Create a worksheet with a variety of activities, such as:
- A path through a maze of clocks designed to show a particular time sequence to follow.
- A “Colour by number” activity in which students coloured different parts of a picture according to the time displayed on clocks.
- A simple “connect the dots” activity in which students connect dots in numerical order (one through twenty) to reveal a picture, having each dot worth a different time to the hour.
Where to Find Printable Worksheets:
Creating your own ‘Telling Time to the Hour’ worksheets allows you to tailor what your students need to learn, but many sources online provide ready-made worksheets to use. Here are a few places to check:
Teachers Pay Teachers: There are plenty of educational resources created by teachers on this website, including many free and paid worksheets telling time.
Pinterest is a place for teachers to get inspired and find resources.
Educational Websites: Some popular options include:
- Math-Aids.com
- K5 Learning
- Teach Prints
In conclusion, it sets the stage for life and forever teaches a kid how to manage time during the hour in kindergarten. Introduce this vital concept with engaging activities, worksheets and real-life examples that will make your students love learning it. Be patient, be encouraging and celebrate their successes along the way!
